
One of the discussion boards I frequent, NZ Games, has a healthy component of photographers on it. As a fun exercise there has been a series of 'competitions' being run. I say 'competitions' because while people vote for the image they like the most the only prize won is that the person who submitted the winning entry gets to pick the theme for the next competition. Now I freely admit most of the time I am bemused by the choices people made. Nost of the time the image selected is neither the best technically nor the most appropriate to the theme chosen.
So I don't take the competition seriously in terms of trying to win it. But it is good in that in encourages you to get out and actually use the camera. All too often it is easy to either forget to take it with you or get mired in the other daily routines that need doing. By having a deadline it forces you act and is incredibly valuable in that regard. This competition the theme was 'Contrast'. To my mind the biggest contrast you can get without going for silhouettes against a blown out background was the contrast between fire and ice. Consequently I set about mixing the two.
The first job was figuring out how. Initially I was interested in trying to source some Methane Hydrate. This is a frozen form of methane that looks like a slightly cloudly ice cube which coincendetally can be lit and burns quite nicely. While I work for a scientific institution and probably could have sourced some eventually the time frame on it was a little too long for the competition. So plan B was to create a bowl of ice in which I could place some flammable liquid and light it. Thankfully I did some tests using a large ice cube to see how well methylated spirits and ice would mix. For reasons I don't fully appreciate it seems that the meths tries to melt directly through the ice even before it is lit. I would possibly suspect the act of the spirits sublimating into fumes might be driving this but it seems to occur at the bottom of the pool of spirits - not the side like I would expect for sublimation.
I also discovered that a pool of methylated spirits is actually relatively hard to light in ice. All my tests refused to light. Clearly I needed something akin to a wick to provide the right surface for the meths to mix with the air into a flammable mixture. Soaking newspaper in the meths and then lighting that proved nice and easy to do. It also had the added bonus of cutting down the amount of meths being lit at any time. I was very conscious of the fact that I playing around with quite flammable materials so all testing was down outside, well away from any burnable material and with a hose handy to dose any fire which got out of control.
The final issue to consider was lighting the scene. I always planned to let the flame provide the bulk of the light but I did want to make it clear that the bowl was made of ice. Ideally I would have liked to use a light blue backlight. To that end another of my trusty LED torches was going to be drafted in. This time it is a headlamp - designed to be worn it had an adjustable face that could be angled easily making it ideal for placing on a flat surface and pointing up at a shallow angle. To get the light blue my intent was to use a cellophane filter over the torch. Try as I might I could not find any blue, let alone light blue, cellophane to buy. The final solution to this was to use some blue tissue paper which did dull the torch somewhat but got at least a decent blue tone to it.
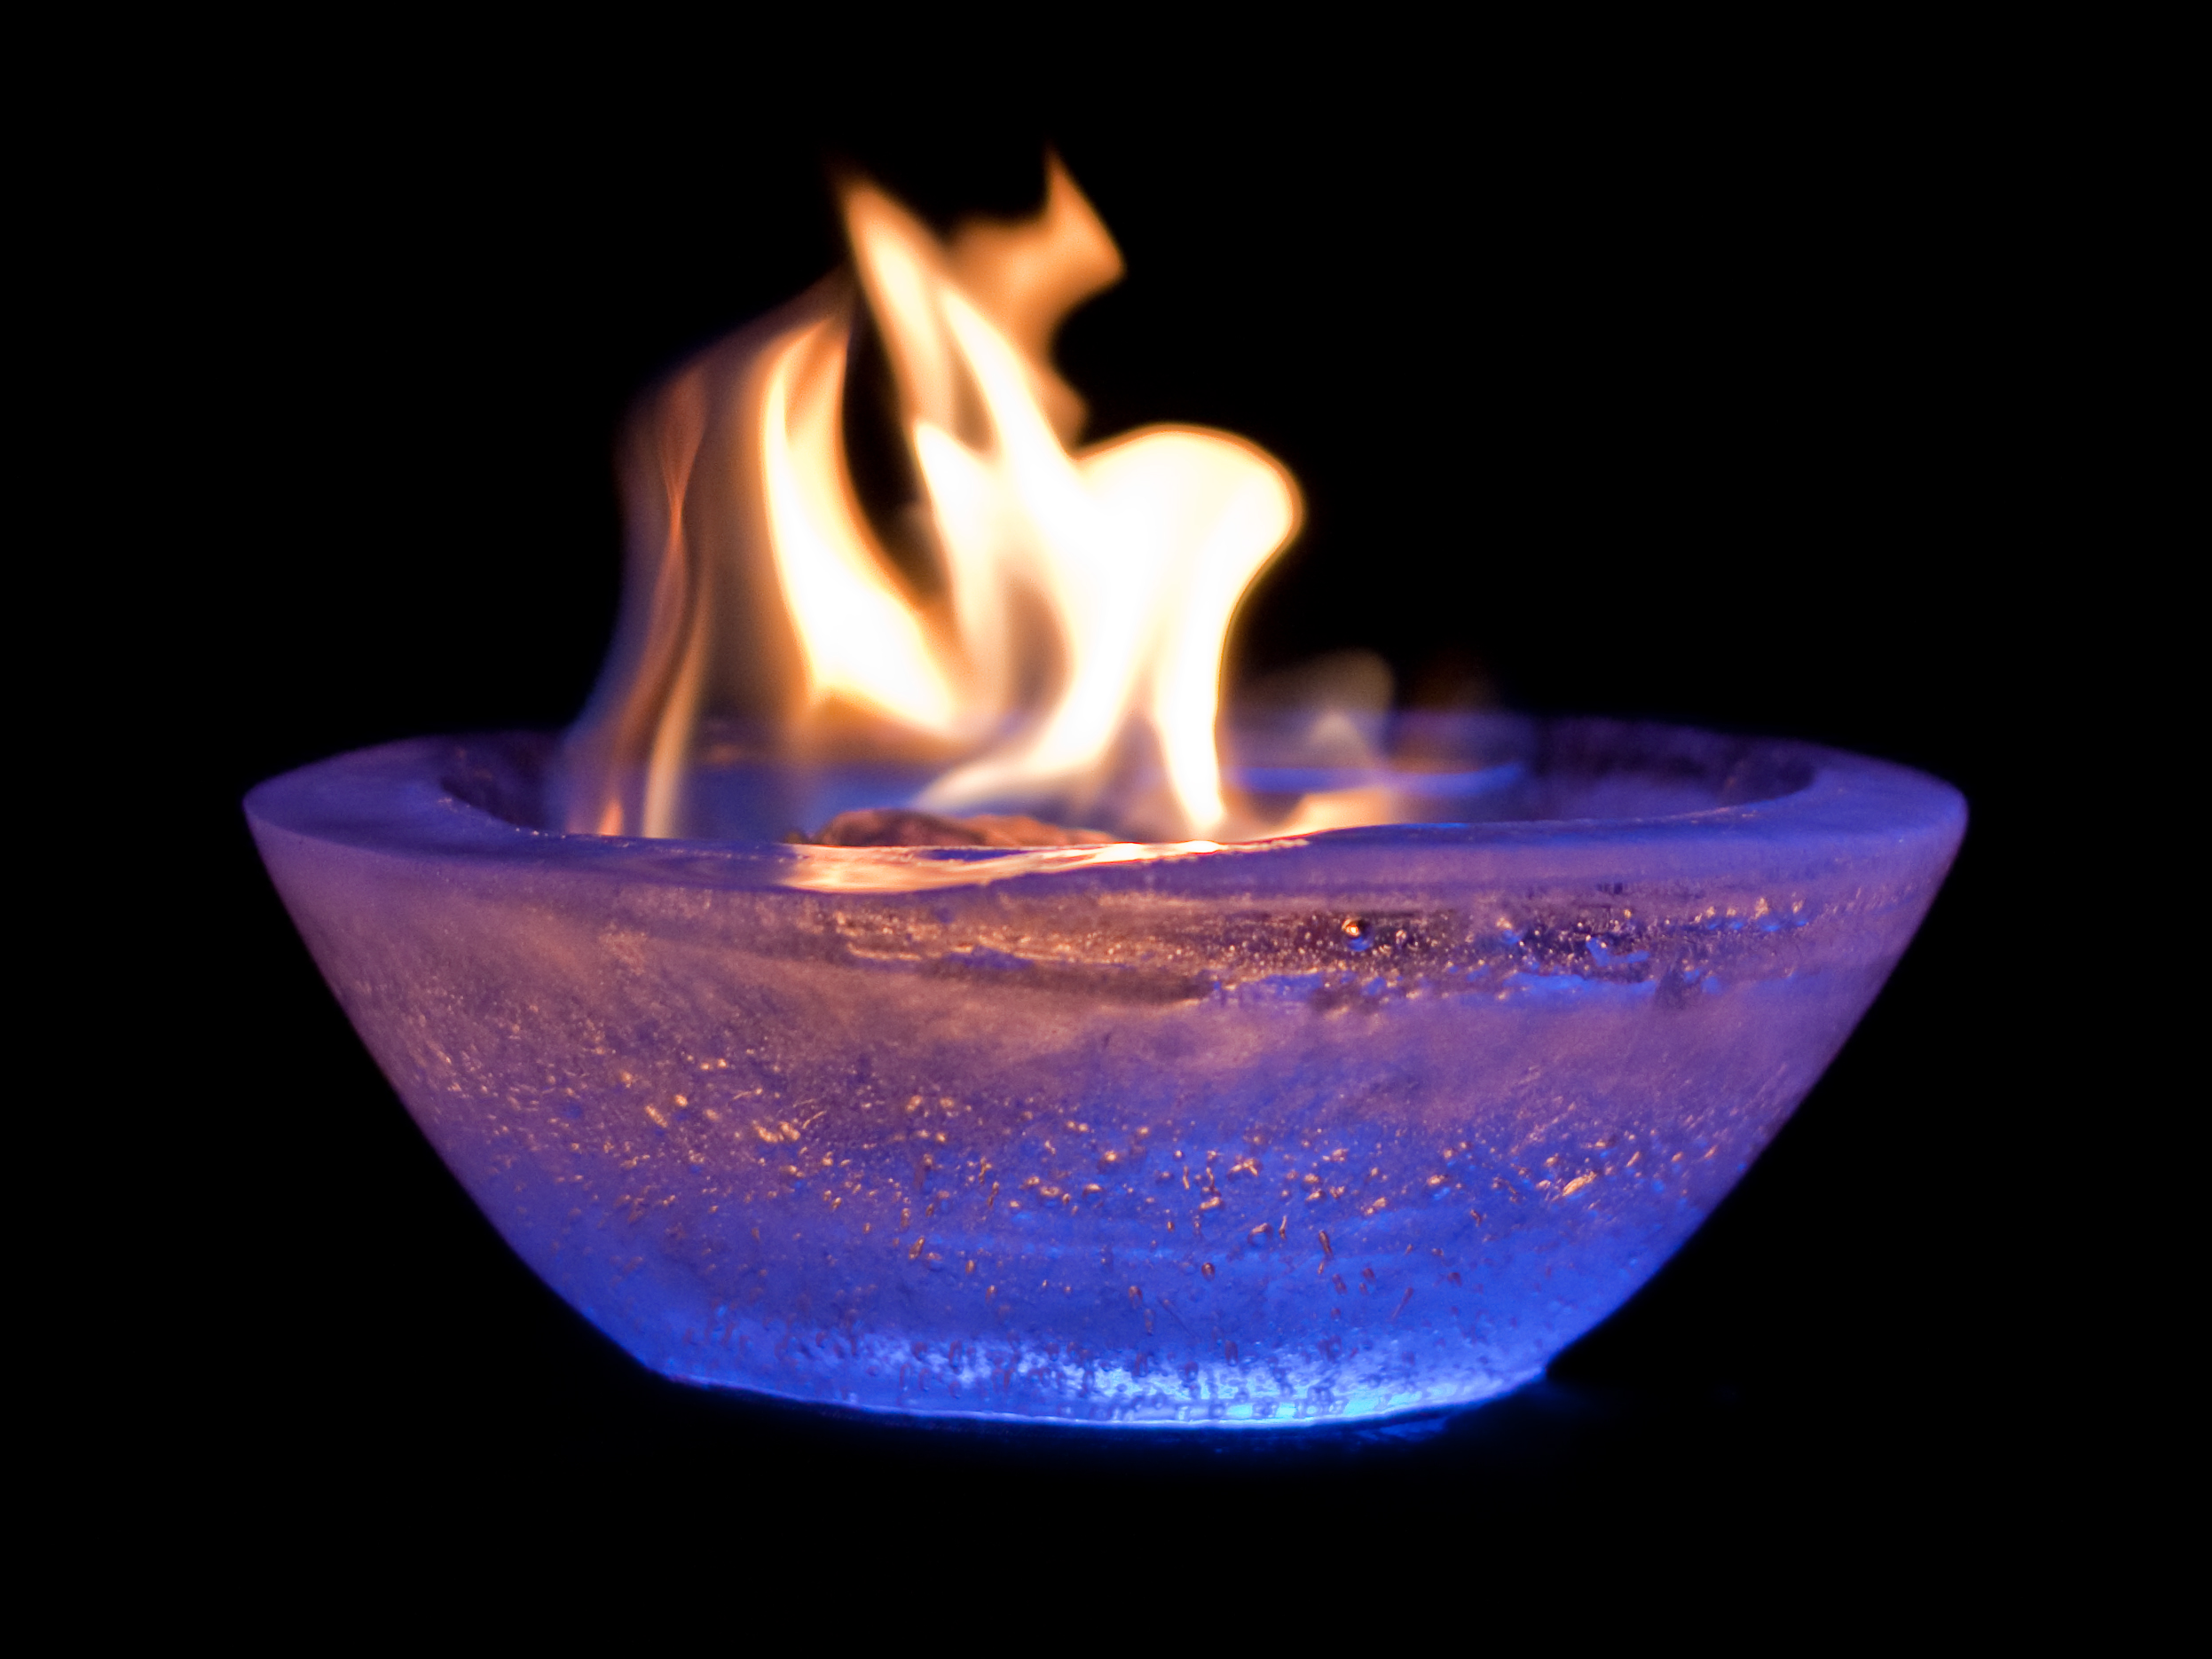
What concerned me was that low light level from the torch was probably going to be insufficient to deal with the light generated from the flames. Indeed as you can see in the next image this was indeed the case. The blue tone from the LED torch is being almost completely overwhelmed by the flame light and it ends up providing a couple of hints rather than dominating. This was the second lighting of the bowl so it had thinned a bit from the heat, you can see if you look closely water melting near the base of the bowl, but I had used a larger piece of newspaper and as a result produced a stronger flame. In fact I would have liked to marry the nicer flame from this shot with the bluer bowl of the second image.
To keep the torch out of shot I had placed the bowl on top of plastic bowl with a black cloth over the top of that. This raised the bowl up enough that the torch was down behind the cloth from the camera's perspective. Because of the fire risk it was all done on a bird bath out on the front lawn. Thanks to the low light levels I was half expecting that I would have some of the trees and hedge that was behind the birdbath in shot. I was combating this by using a F1.8 50mm lens around the F2.2 to keep the depth of field as shallow as I could get away with at about 30 cm. To my pleasant surprise this all worked and the image has not required much post-processing at all. Pretty much all that has been needed is cropping and the second image has had some slight touching up in the flames to refine a little more detail - they had mildly blownout so have been toned back using Lightroom.
The two nice big lessons from this - black cloth and a shallow depth of field really can hide a whole bunch of things. The cloth I used for this has been kept and is now part of my camera kit. I aim to start experimenting more with using that to block out details I want to hide. All in all this was a fun image to make and I think ended up with quite a pretty image for all the effort. The bowl alone took a day of careful freezing to make and I think this marks the first time the image I designed has ended up pretty much as I conceived it. Perhaps the thing I am happiest with is the lack of post processing the shot required. To my way of thinking the best shots require virtually no post-processing. You simply get it right in the lens in the first place. To finally be able to do that tells me that perhaps I might be begining to know how to work my new DSLR properly.